Sunday, June 24, 2012

The "Cards" Box

     So I was thinking about the "cards box". You know...that thing people put out for guest who bring cards. I've seen stuff as out there and awesome as giant Lego blocks and as nature-y as bird cages and little trees with clips. I've also seen the boring old boxes with the word "cards" written on it and a slit in the top. So here's what I did....I found an awesome top-folding picnic basket at an estate sale for $5. 
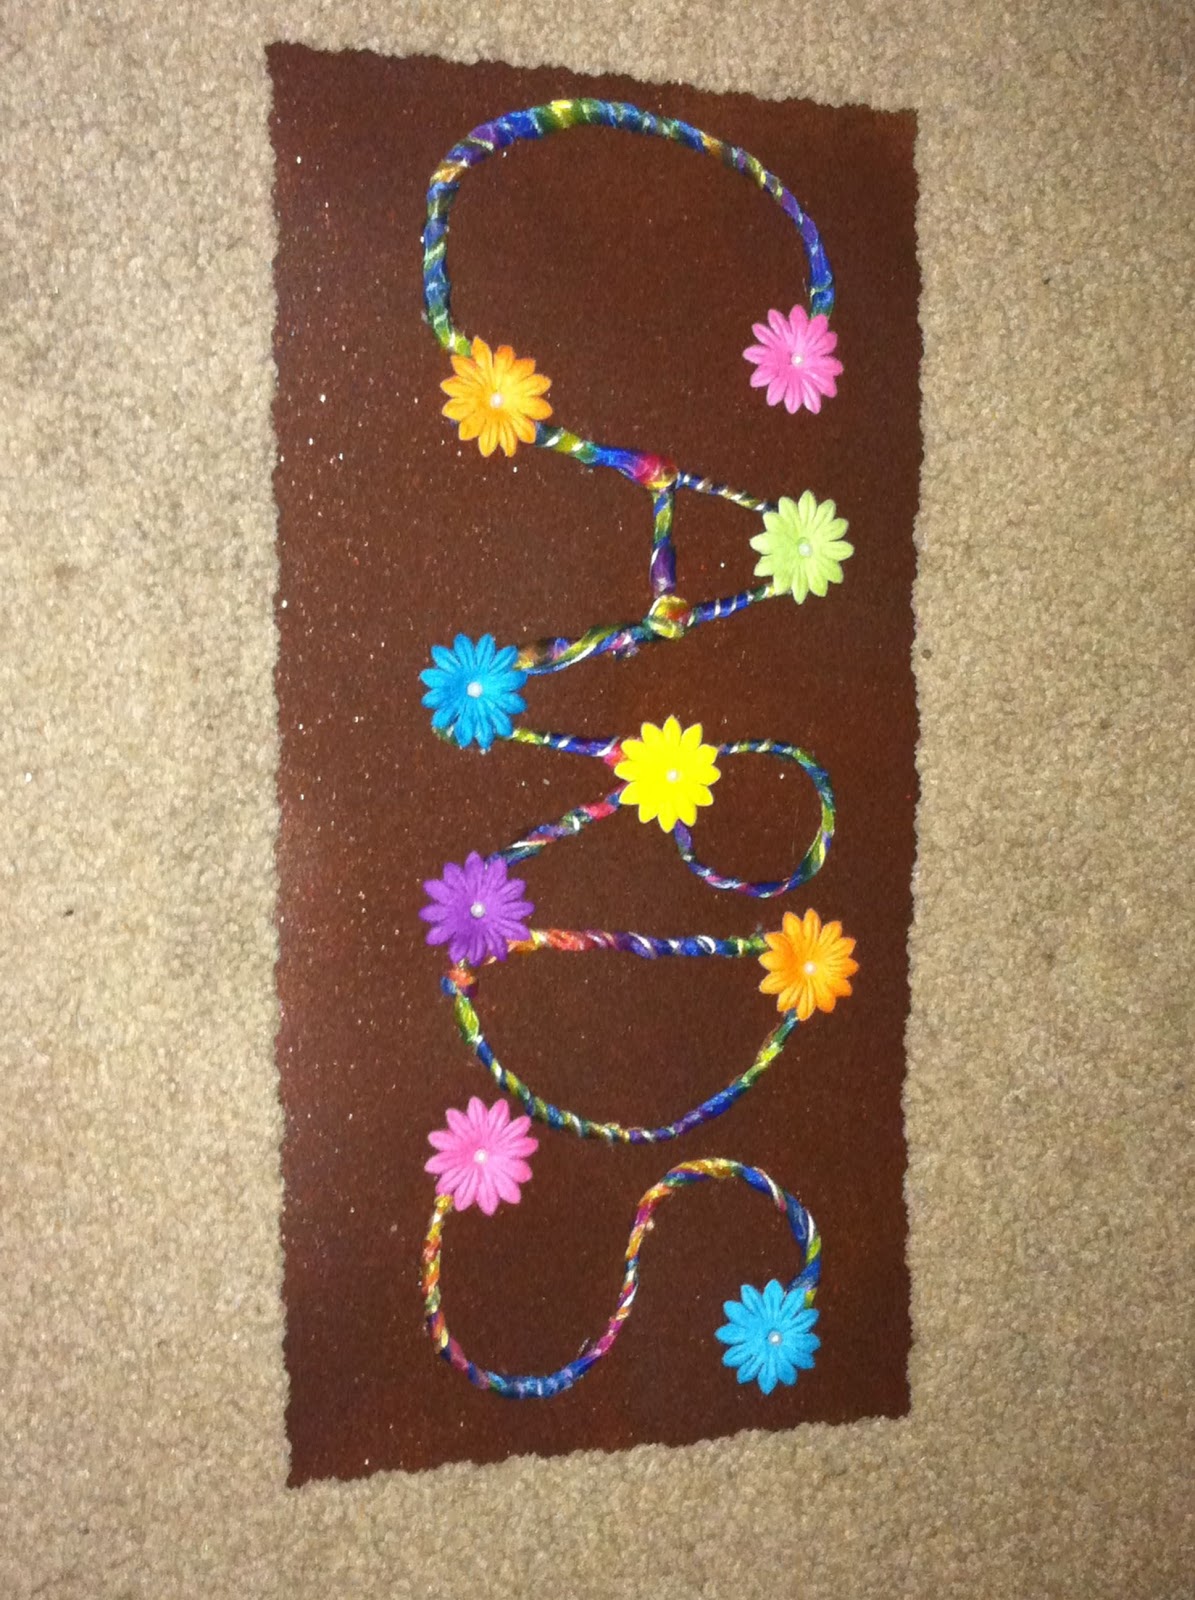
     I used the lid from a Bed, Bath, and Beyond box (which I have LOTS of lately) and the last of my glittery copper spray paint (that I used most of on the wishing tree) to make a background for the card sign. After it dried, I fashioned some letters out of floral wire that I picked up from an estate sale and have used for many other things. The letters were wrapped in a rainbow ribbon that I picked up at Michael's just this morning, and hot-glued to the copper sign. Then I hot-glued on some left-over flower accents that I had. (Same ones from the butterfly cage and the archway centerpiece.) Finally, I used some fun-cutting scissors to make the edges of the sign pretty. Last, I attached a pin left over from making boutonnieres to the back of the sign, and pinned it into the lid of the picnic basket. I'm so glad it turned out so well! It's going to look great on the table under the wishing tree! :)


The Ceremony Archway

     When I began to picture our ceremony, a lot of things came to mind. Many of those things have evolved since I began planning this wedding. One thing, however, has remained constant...I have always wanted an archway. I looked at renting them from a place here in town, but the only style that I liked wouldn't work well outdoors (and I didn't care for the styles that would have worked outdoors). My brother is an excellent craftsman, so I asked him to build us an arch that could later be converted into a porch swing. (That way it would serve a function later...and so I would have something special from my wedding that my brother made.) Unfortunately, he wasn't able to find the time to make it for us. 
     Luckily, Matt's mom had a friend from work who had an arch that we were able to borrow. It is absolutely beautiful! It's a white arch with wide sides that is heavy enough to work well outdoors. On a wedding shopping trip a long time ago, we picked up some floral decorations for the future archway. These decorations were long chains of greenery with 5 of the 6 rainbow colors existing as Gerber daisies every so often along the chain. We bought a matching Gerber daisy bundle in the 6th color, and I had to go through and manually add/rearrange the flower garland to include the last color.
     For the center of the archway, I wanted something special. I thought about getting one big Gerber daisy and using spray dye to make it rainbow. But then I thought, "why spend more money? Surely I can come up with something....". And I did! Necessity really is the mother of invention...
     What I did was first free-hand an "M" (my future last name will be Morrow) on the back of a lid from a Bed, Bath, and Beyond box. (Those boxes have been used for many things because of their abundance as of late! :p) I used a box cutter to extract my M. Next, I wrapped the M in electrical tape. Then I began the task of hot-gluing on some paper flowers that I got from Michael's a while back. (I used these on the butterfly cage, if you recall.) Finally, I hot-glued on some black ribbon for tying the centerpiece I'd just created onto the arch itself. I was definitely pleased with the outcome. :)


Getting The Word Out--Part II

     Ok, so...I know I posted the prototype invite sheets a long time ago, BUT.....like all things, the invitations evolved before being sent out. :p First of all, I kept the paper mentioned before. (A seeded paper from Saveoncrafts.com.) I modified the wording using Microsoft Word, and printed them in color. 

Front of Invitations

Back of Invitations

     After printing, the pages were cut in half. (Two invitations per sheet of seeded paper.) The pages were then placed into ivory envelopes, sealed and stamped with an abstract tree rubber stamp using a beautiful copper ink. I really liked the design of the tree...I felt it was abstract enough to be elegant, yet real enough to fit the nature theme. Then a friend asked if it was supposed to be the white tree of Gondor....I laughed as I replied, "Not intentionally."....but now that he mentions it...I absolutely love that I went with it....even if it was a little unnecessary to stamp the back of each one. :)

Back of Envelope with Tree Stamp/Seal with Stamping Block